DIY Kitchen Decor on a Budget Introduction
Transforming your kitchen doesn’t have to break the bank. With a little creativity and some elbow grease, you can achieve a stunning kitchen makeover without spending a fortune. This article explores seven simple and effective DIY kitchen decor ideas on a budget. From open shelving and backsplashes to revamping cabinets and incorporating plants, these projects are designed to breathe new life into your space without emptying your wallet. Get ready to create the kitchen of your dreams, one DIY project at a time. Embracing DIY projects is not only cost-effective but also allows you to personalize your space, reflecting your unique style and taste. You’ll find that the satisfaction of creating something beautiful with your own hands is a reward in itself. So, gather your tools, unleash your creativity, and let’s dive into these budget-friendly kitchen decor ideas.
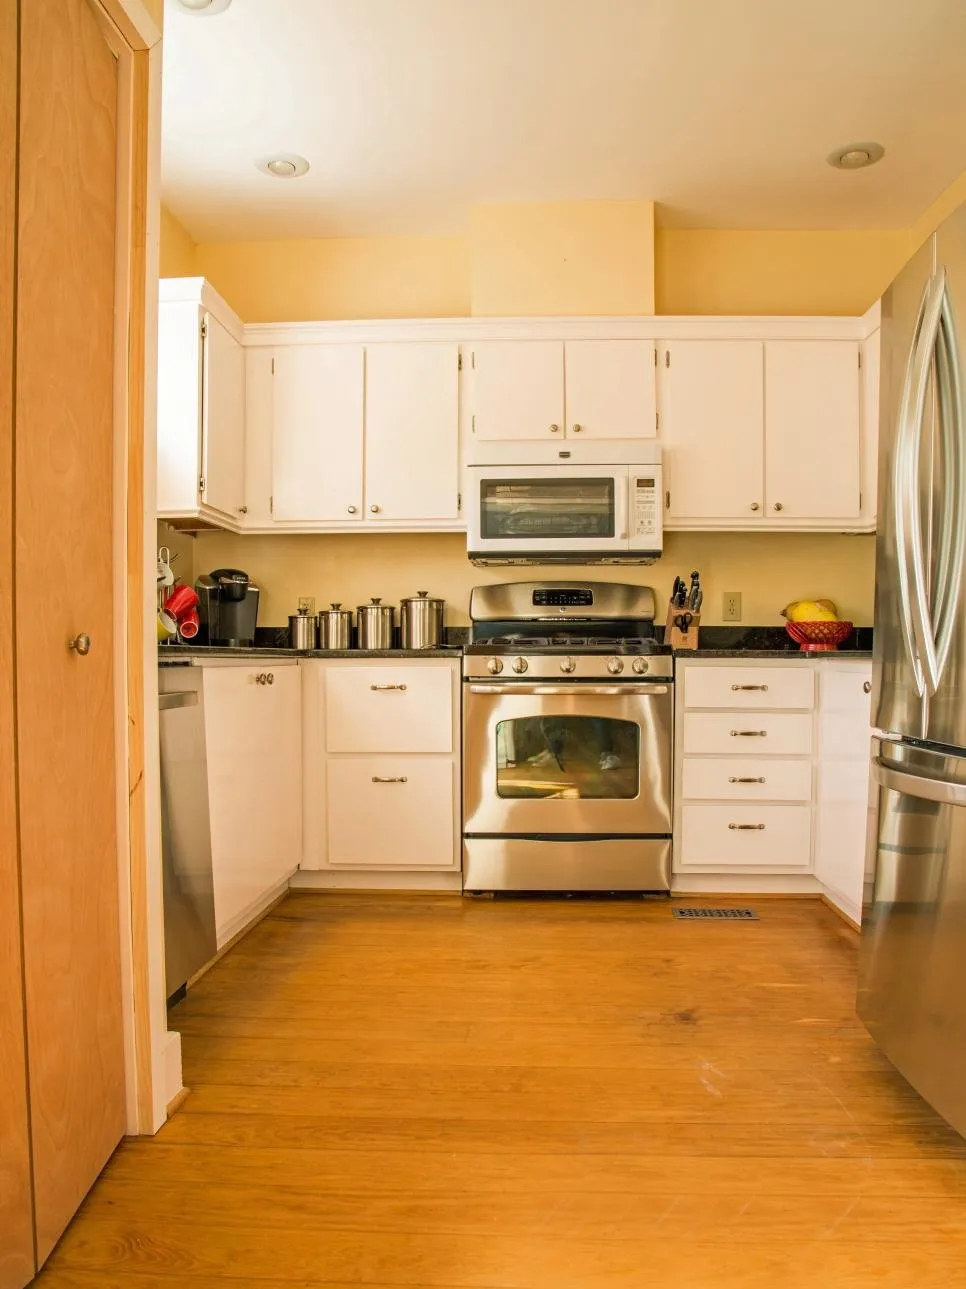
Simple DIY Kitchen Decor Ideas on a Budget
Embarking on a kitchen renovation doesn’t always necessitate a complete overhaul. Small, strategic changes can make a huge difference. This guide offers easy-to-implement DIY projects that will transform your kitchen without straining your budget. Each project is carefully selected for its ease of execution and impact on the overall aesthetics of your space. They not only enhance the visual appeal of your kitchen but also add functionality and personality. These ideas are perfect for both seasoned DIY enthusiasts and beginners alike. The goal is to empower you to create a kitchen that feels both beautiful and inviting, all while staying mindful of your financial constraints. By adopting these DIY approaches, you are investing not just in decor but in your own satisfaction and the value of your home.
DIY Open Shelving

Open shelving is a stylish and practical addition to any kitchen. It not only provides extra storage space but also adds an element of visual interest. By removing some of your upper cabinets and installing open shelves, you can create a more open and airy feel in your kitchen. This DIY project is relatively straightforward and can be customized to fit your space and style. You can choose from various materials, such as wood, metal, or a combination of both, to match your kitchen’s aesthetic. Open shelves are also great for displaying your favorite kitchenware, cookbooks, and decorative items, adding a personal touch to your space. The open design encourages a more organized and accessible kitchen, making it easier to find what you need and keep your space tidy. Furthermore, the cost of open shelving is significantly less than that of traditional cabinets, making it a budget-friendly option.
Materials Needed for Open Shelving
For DIY open shelving, you’ll need several essential materials. Start with your preferred shelving material; wood, such as pine or oak, is a popular and affordable choice. You’ll also need brackets for support, which come in various styles and materials. Ensure the brackets are strong enough to hold the weight of your items. Other necessary items include screws appropriate for both the brackets and your wall type (consider drywall anchors if needed), a level to ensure your shelves are straight, a stud finder to locate wall studs for secure mounting, a drill, a measuring tape, a pencil, and sandpaper for smoothing any rough edges on the wood. Don’t forget safety equipment like safety glasses. The specific quantities of each item will depend on the number and size of the shelves you plan to install. It is essential to accurately measure your space to ensure that all materials are cut and installed correctly.
Step by Step Guide to Building Shelves
Begin by measuring and marking the desired locations for your shelves on the wall, using a level to ensure accuracy. Locate wall studs using a stud finder for secure mounting; this is crucial for supporting the weight of your shelves and the items they will hold. Next, pre-drill holes in your shelves and brackets to make screwing easier. Attach the brackets to the wall studs, using appropriate screws and ensuring they are level. Once the brackets are securely in place, position the shelves onto the brackets and fasten them with screws. If your walls are not stud, use wall anchors. Finally, sand any rough edges, and finish the shelves with stain or paint to match your kitchen’s decor. Remember to double-check all measurements and levels throughout the process for a professional finish. Ensure the shelves are firmly secured before placing any items on them.
Adding a Backsplash

A backsplash is a practical and aesthetically pleasing addition to any kitchen, protecting walls from spills and adding visual interest. Installing a backsplash is a manageable DIY project that can significantly enhance the look of your kitchen. The right backsplash can tie together your kitchen’s design, adding color, pattern, and texture. With a wide range of materials available, from tiles to peel-and-stick options, you can find a backsplash that suits your style and budget. It is a relatively inexpensive project that offers a high return on investment in terms of both beauty and functionality. Installing a backsplash also increases the resale value of your property, making it a smart investment for homeowners. The project can transform your space in a weekend.
Choosing the Right Backsplash Material
The choice of backsplash material depends on your budget, style, and ease of installation preferences. Ceramic and porcelain tiles are durable, water-resistant, and available in a wide variety of colors, patterns, and sizes, making them a classic choice. Glass tiles offer a sleek, modern look and reflect light, making your kitchen appear brighter. For a more budget-friendly and easy-to-install option, consider peel-and-stick tiles, which are available in various designs and are perfect for renters or those looking for a temporary update. Natural stone, such as granite or marble, provides a luxurious look but can be more expensive and require professional installation. Consider the overall aesthetic of your kitchen, including your cabinetry, countertops, and flooring, when selecting your backsplash material. Also, take into account the level of maintenance required for each material; some materials are easier to clean and maintain than others.
How to Install a Backsplash
Before starting, prepare your work area by cleaning the wall surface thoroughly. Measure the area for your backsplash and plan your tile layout, ensuring it aligns with outlets and other features. If using traditional tiles, apply thin-set mortar to the wall using a notched trowel. Then, carefully place the tiles, using spacers to maintain consistent grout lines. Use a tile cutter to trim tiles for the edges and around outlets. After the mortar dries, grout the tiles, wiping away excess grout with a damp sponge. If using peel-and-stick tiles, simply peel off the backing and stick them to the wall, aligning them carefully. Once the tiles are in place, use caulk to seal the edges of the backsplash. Regardless of the material, it is essential to follow the manufacturer’s instructions for the best results. Safety glasses and gloves should always be used.
Revamping Kitchen Cabinets with Paint

Painting your kitchen cabinets is a cost-effective way to give your kitchen a fresh, new look. A fresh coat of paint can dramatically transform the appearance of your cabinets, making them look modern and updated without a full-scale renovation. It’s a project that can be completed over a weekend, providing a significant visual impact. This DIY project allows you to experiment with different colors and finishes, adding personality to your kitchen. The key to a successful cabinet painting project is proper preparation, which ensures a smooth and durable finish. By taking the time to prepare your cabinets and using high-quality paint, you can achieve professional-looking results that will last for years. This is a great project for anyone who is interested in giving their kitchen a makeover without spending a lot of money.
Selecting the Perfect Paint Color
Choosing the right paint color for your kitchen cabinets is crucial. Consider the existing colors in your kitchen, including the walls, countertops, and flooring. White and neutral colors are popular choices, creating a clean and spacious feel and complementing various decor styles. Lighter colors tend to make a kitchen feel brighter and more open, while darker colors can create a more dramatic and cozy atmosphere. Consider painting your upper cabinets a lighter color than your lower cabinets to create visual balance. Also, consider the lighting in your kitchen; natural and artificial light can affect how a paint color appears. When selecting your color, it’s helpful to test paint samples on your cabinets to see how they look at different times of the day. Do not forget to take into account the undertones of your colors; some colors have warmer or cooler undertones that can affect the overall look and feel of your kitchen.
Preparing Cabinets for Painting
Preparing your cabinets properly is essential for a smooth and durable paint finish. Remove the cabinet doors and hardware, such as knobs and hinges. Clean the cabinets thoroughly with a degreasing cleaner to remove any dirt, grease, or grime. Lightly sand the cabinet surfaces to create a slightly rough surface, which will help the paint adhere better. Fill any holes or imperfections with wood filler and allow it to dry completely. Then, sand the filled areas smooth. Prime the cabinets with a high-quality primer to create a uniform base and ensure the paint sticks effectively. Priming is an important step that improves paint adhesion and durability. Allow the primer to dry completely before painting. Proper preparation ensures that the paint will adhere correctly and give your cabinets a professional look. Do not skip any of these steps.
Painting Kitchen Cabinets Like a Pro

Use a high-quality cabinet paint that is designed for durability and resistance to wear and tear. Apply the paint in thin, even coats, allowing each coat to dry completely before applying the next. Using a brush, roll, or a paint sprayer can be used, with each method having its advantages. Brushes work well for detailed areas, while rollers provide a smooth finish on flat surfaces. Paint sprayers offer the most flawless finish but require more preparation and cleanup. When using a brush or roller, follow the direction of the wood grain for the best results. Allow the paint to cure for the recommended time before reinstalling the hardware and cabinet doors. Curing allows the paint to fully harden, resulting in a more durable finish. Patience and attention to detail are key to achieving professional-looking results.
Decorating with Plants
Adding plants to your kitchen is a simple yet effective way to bring life and vibrancy to your space. Plants not only enhance the aesthetics of your kitchen but also provide health benefits by purifying the air. They can be placed on countertops, shelves, windowsills, or even hanging from the ceiling. The choice of plants can vary depending on your kitchen’s light conditions and your personal preferences. There’s a perfect plant for every kitchen, adding a touch of nature to your home decor. Plants can contribute to a more relaxing environment, making your kitchen feel more inviting. They can also add a pop of color and texture, enhancing the overall design of your space. They also provide many psychological benefits by reducing stress and improving your mood.
Choosing the Right Plants for Your Kitchen
Select plants that thrive in kitchen environments, considering factors like light levels, humidity, and temperature fluctuations. Herbs, such as basil, mint, and rosemary, are not only decorative but also useful for cooking. Low-light plants like snake plants, ZZ plants, and pothos are excellent choices for kitchens with limited natural light. Spider plants are easy to care for and can thrive in various conditions. Succulents, such as aloe vera, can tolerate bright light and add a modern touch. When choosing plants, consider the size of your kitchen and the available space. Smaller plants can be placed on countertops, while larger plants can be used to fill empty corners. Remember to consider the plant’s maintenance requirements; some plants need more watering, fertilizing, and pruning than others. Consider how the plants will fit into the style of your kitchen.
Planting and Care Tips

Place your plants in pots with drainage holes to prevent waterlogging and root rot. Use a well-draining potting mix suitable for the type of plant. Water your plants regularly, allowing the soil to dry out slightly between waterings, as overwatering is a common problem. Provide adequate sunlight for your plants, adjusting their location based on their needs. Fertilize your plants during the growing season to promote healthy growth. Regularly dust the leaves to ensure they can absorb sunlight effectively. Prune your plants as needed to maintain their shape and encourage new growth. Consider using plant stands or hanging planters to display your plants in creative ways. Remember, consistent care and attention are essential for keeping your kitchen plants healthy and thriving, adding a touch of nature to your home.
DIY Kitchen Decor on a Budget Conclusion
Transforming your kitchen on a budget is entirely achievable with these DIY ideas. From open shelving and backsplashes to cabinet makeovers and adding plants, these projects can revitalize your space without a major investment. These projects provide the perfect opportunity to express your creativity and create a kitchen that suits your style. Embracing DIY decor is not just about saving money but also about taking pride in your home. So, get started on these projects and enjoy the process of creating a beautiful, functional, and personalized kitchen. Your dream kitchen is within reach, and these simple DIY projects will help you make it a reality. Remember that the effort put into these projects will provide lasting satisfaction. The journey of transforming your kitchen on a budget is as rewarding as the beautiful space you will create.