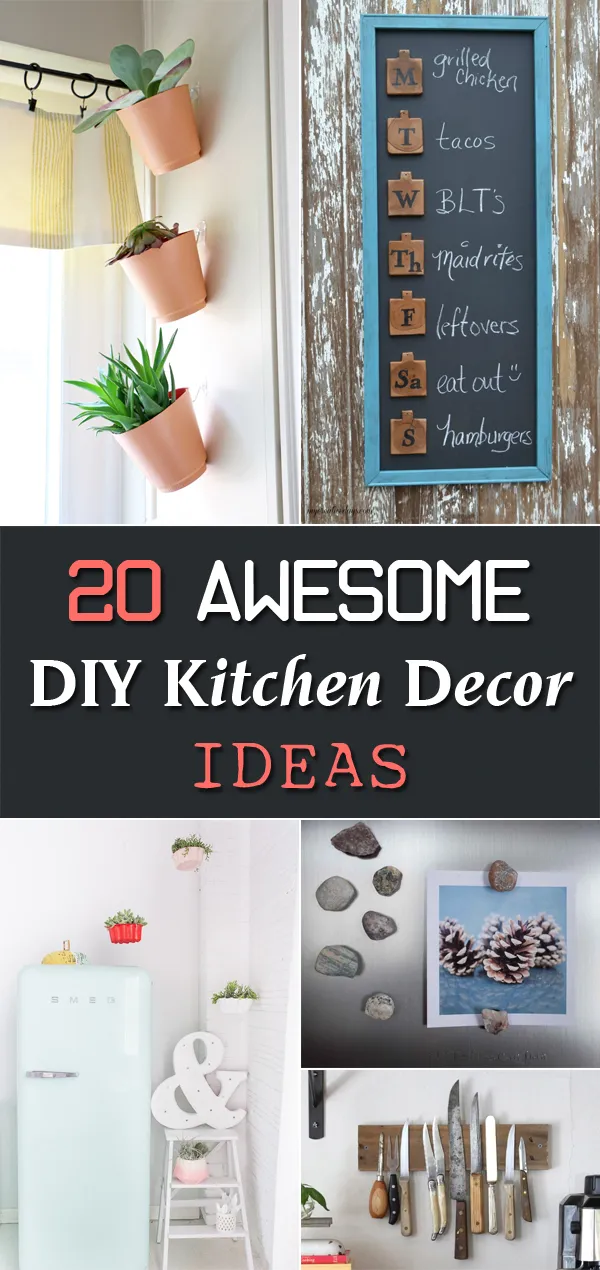
7 Easy DIY Kitchen Decor Projects
Are you dreaming of a kitchen makeover but hesitant about the cost? Look no further! This guide presents seven fantastic DIY kitchen decor projects that are not only budget-friendly but also surprisingly easy to accomplish. These projects offer a fantastic way to personalize your space, inject your unique style, and significantly upgrade your kitchen’s look and feel without breaking the bank. From revamping your cabinets to creating a charming herb garden, we’ll explore creative and practical ideas that will inspire you to roll up your sleeves and get crafting. These DIY projects are designed to be accessible to all skill levels, making it easy to transform your kitchen into a space you’ll love.
DIY Kitchen Decor Projects Overview
Before you dive into any DIY project, a little planning goes a long way. This overview will help you understand the scope of each project, the approximate time commitment, and the materials you’ll likely need. We’ll provide tips on how to prepare your workspace, gather your supplies, and ensure a smooth and enjoyable DIY experience. Remember, the key to success is to take your time, follow instructions carefully, and don’t be afraid to experiment and add your own personal touches. With a little effort and creativity, you can completely transform your kitchen into a stylish and functional space that reflects your personality and enhances your daily life.
Project 1 Revamping Kitchen Cabinets
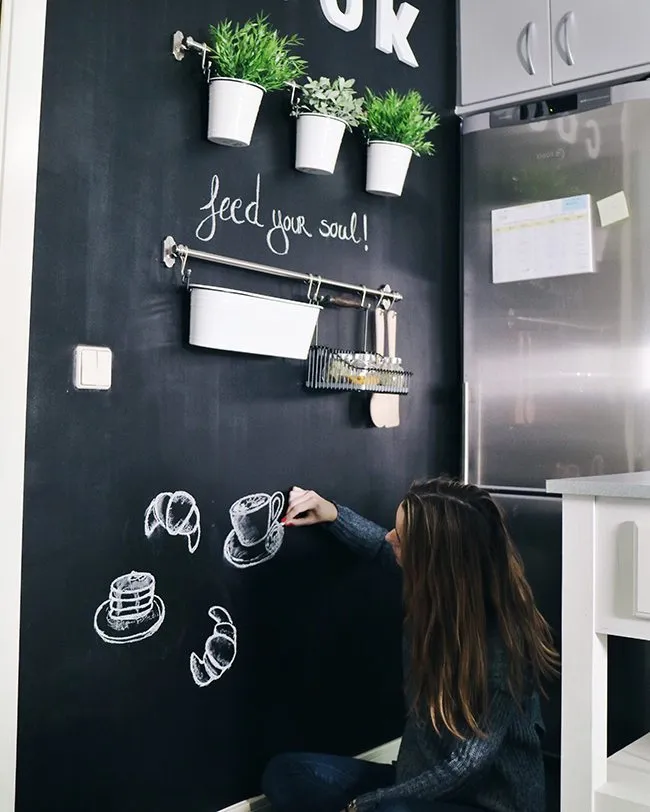
One of the most impactful and cost-effective ways to transform your kitchen is by revamping your cabinets. A fresh coat of paint can dramatically alter the look and feel of your kitchen, making it appear brighter, more modern, and inviting. This project is a great starting point for any DIY enthusiast. It’s also a chance to experiment with color and texture, giving your kitchen a completely new personality. Whether you choose a classic white, a bold pop of color, or a distressed, vintage look, painting your cabinets can be a rewarding and transformative experience.
Choosing the Right Paint for Cabinets
The type of paint you choose is critical to the success and longevity of your cabinet makeover. For kitchen cabinets, you’ll want to select a durable, easy-to-clean paint that can withstand the wear and tear of daily use. Latex-based paints are popular choices because they are flexible, making them less prone to cracking. Oil-based paints offer superior durability but can be harder to work with and require more ventilation. Consider using a semi-gloss or satin finish, as these are easier to wipe clean and offer a subtle sheen that adds to the overall aesthetic of your kitchen. Choosing the right paint will help protect your cabinets from moisture, grease, and other kitchen elements.
Essential Tools for Painting
To paint your kitchen cabinets like a pro, you’ll need a few essential tools. Gather painter’s tape to protect hardware and adjacent surfaces, sandpaper to prepare the surface, primer to ensure paint adhesion, paintbrushes or a small paint roller for smooth application, and a screwdriver to remove cabinet doors and hardware. Other useful items include drop cloths, a putty knife for filling imperfections, and a cleaning solution for preparing the surface. Proper preparation and the right tools will make the painting process smoother and ensure a professional-looking finish for your kitchen cabinets. Always make sure to work in a well-ventilated area.
Project 2 Creating a Decorative Backsplash
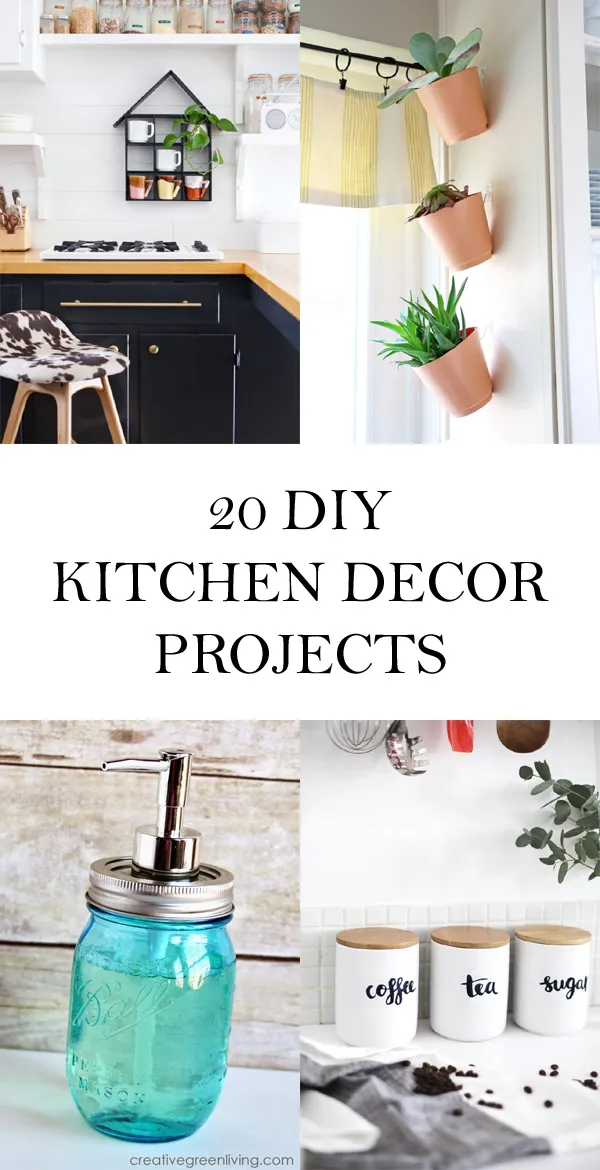
Adding a backsplash is another excellent way to elevate your kitchen’s aesthetic. It’s a relatively simple project that can make a significant difference in both the look and functionality of your space. A backsplash not only protects your walls from splashes and stains but also serves as a focal point, adding visual interest and personality to your kitchen. You can find a wide variety of materials to match any style, from sleek, modern tiles to rustic, vintage-inspired options. With a little effort, you can create a backsplash that perfectly complements your cabinets and countertops.
DIY Backsplash Material Options
There are several materials you can use for a DIY backsplash. Ceramic or porcelain tiles are classic choices, offering durability and a wide range of design options. Peel-and-stick tiles provide a quick and easy installation method, perfect for beginners. Glass tiles add a touch of elegance and reflect light beautifully, while mosaic tiles offer intricate patterns and textures. Consider the overall style of your kitchen when choosing your materials. For a modern look, opt for sleek, minimalist tiles. For a rustic vibe, consider subway tiles or natural stone. For a cost-effective solution, explore options like beadboard or painted wood.
Installing a Simple Backsplash
Installing a backsplash can be simplified using peel-and-stick tiles or by applying traditional tiles with mortar and grout. If you’re using regular tiles, ensure the wall is clean and dry. Measure and plan your layout, then apply the tile adhesive. Carefully place the tiles, using spacers to maintain even grout lines. Once the adhesive is dry, apply grout, wipe away the excess, and let it cure. For a professional finish, consider using a tile saw for precise cuts. Peel-and-stick tiles require less preparation, making them a great option for those new to DIY projects. Always follow the manufacturer’s instructions for the chosen material.
Project 3 Building Open Shelving
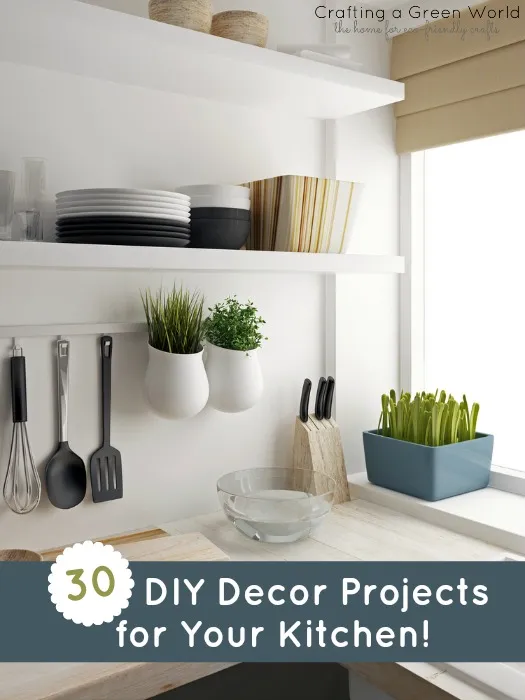
Open shelving is a stylish and practical addition to any kitchen, providing both storage and display space. This project can create a more airy and spacious feel, while also giving you a chance to showcase your favorite dishware, cookbooks, and decorative items. Building open shelving is a relatively straightforward project, and it allows you to customize the size and style to fit your specific kitchen needs. It’s also a great way to add a personal touch to your kitchen decor, making your space more inviting and functional. Open shelving can be a game changer for maximizing space and enhancing the aesthetics of your kitchen.
Planning Your Shelving Design
Before you start building, plan your shelving design. Determine the dimensions and number of shelves you need based on the available wall space and the items you plan to store. Consider the depth of the shelves to ensure they are practical for your needs. Sketch out your design and decide on the style – modern, rustic, or minimalist – to inform your material choices. Consider how the shelves will integrate with the rest of your kitchen decor. Accurate planning prevents mistakes and ensures your shelving meets your needs and complements your overall design. Measure twice, cut once to avoid wasted materials.
Materials and Tools for Open Shelving
You’ll need a few essential materials and tools to build your open shelving. Choose wood planks for the shelves, considering the thickness and finish that best suits your kitchen decor. You’ll also need brackets to support the shelves – these can be decorative or functional, depending on your style. Other essential tools include a drill, screws, a level, and a measuring tape. Depending on the finish, you may need sandpaper, stain, or paint. Gather all your materials and tools beforehand to streamline the building process. This preparation will make your DIY experience more efficient and enjoyable, allowing you to construct beautiful and functional shelving.
Project 4 Crafting a Kitchen Island
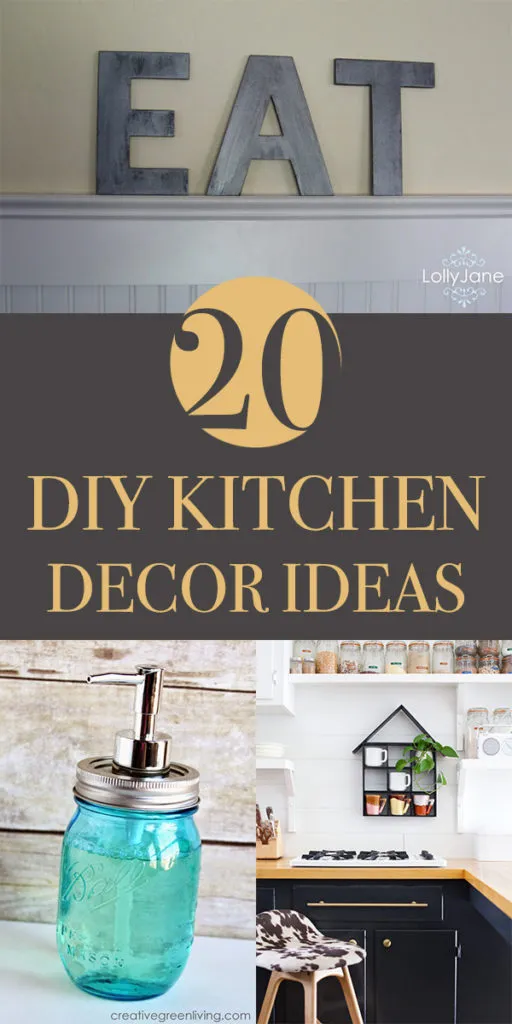
Adding a kitchen island can significantly increase both the functionality and the visual appeal of your kitchen. An island provides extra counter space for food preparation, a casual dining area, and additional storage. While purchasing a pre-made island can be costly, building your own allows you to customize the size, style, and features to perfectly fit your kitchen and your needs. Building a kitchen island can be a more involved project, but the outcome can completely transform your kitchen into a more user-friendly and aesthetically pleasing space.
Island Design and Size Considerations
When designing your kitchen island, consider the space available in your kitchen. Ensure there’s enough room to move around the island comfortably. Think about the island’s intended purpose – will it be used for food prep, dining, or storage? Plan the size and shape accordingly. Include features such as cabinets, drawers, open shelving, or a countertop overhang for seating. Consider incorporating electrical outlets for convenience. Carefully planning the design will ensure that your island is both functional and aesthetically pleasing, enhancing the overall usability of your kitchen.
Materials Needed for the Island
The materials you need for your kitchen island depend on the design you choose. You’ll need a sturdy base, often constructed from wood or MDF, for the frame of the island. Plywood or MDF can be used for the cabinet boxes, doors, and drawers. For the countertop, you have a wide range of options, including butcher block, laminate, or even repurposed materials like reclaimed wood. You’ll also need hardware such as hinges, drawer slides, and handles or knobs. Other essential materials include screws, wood glue, and finishing products like paint or stain. Choose materials that are durable, easy to clean, and complement your existing kitchen decor.
Project 5 Designing a DIY Herb Garden
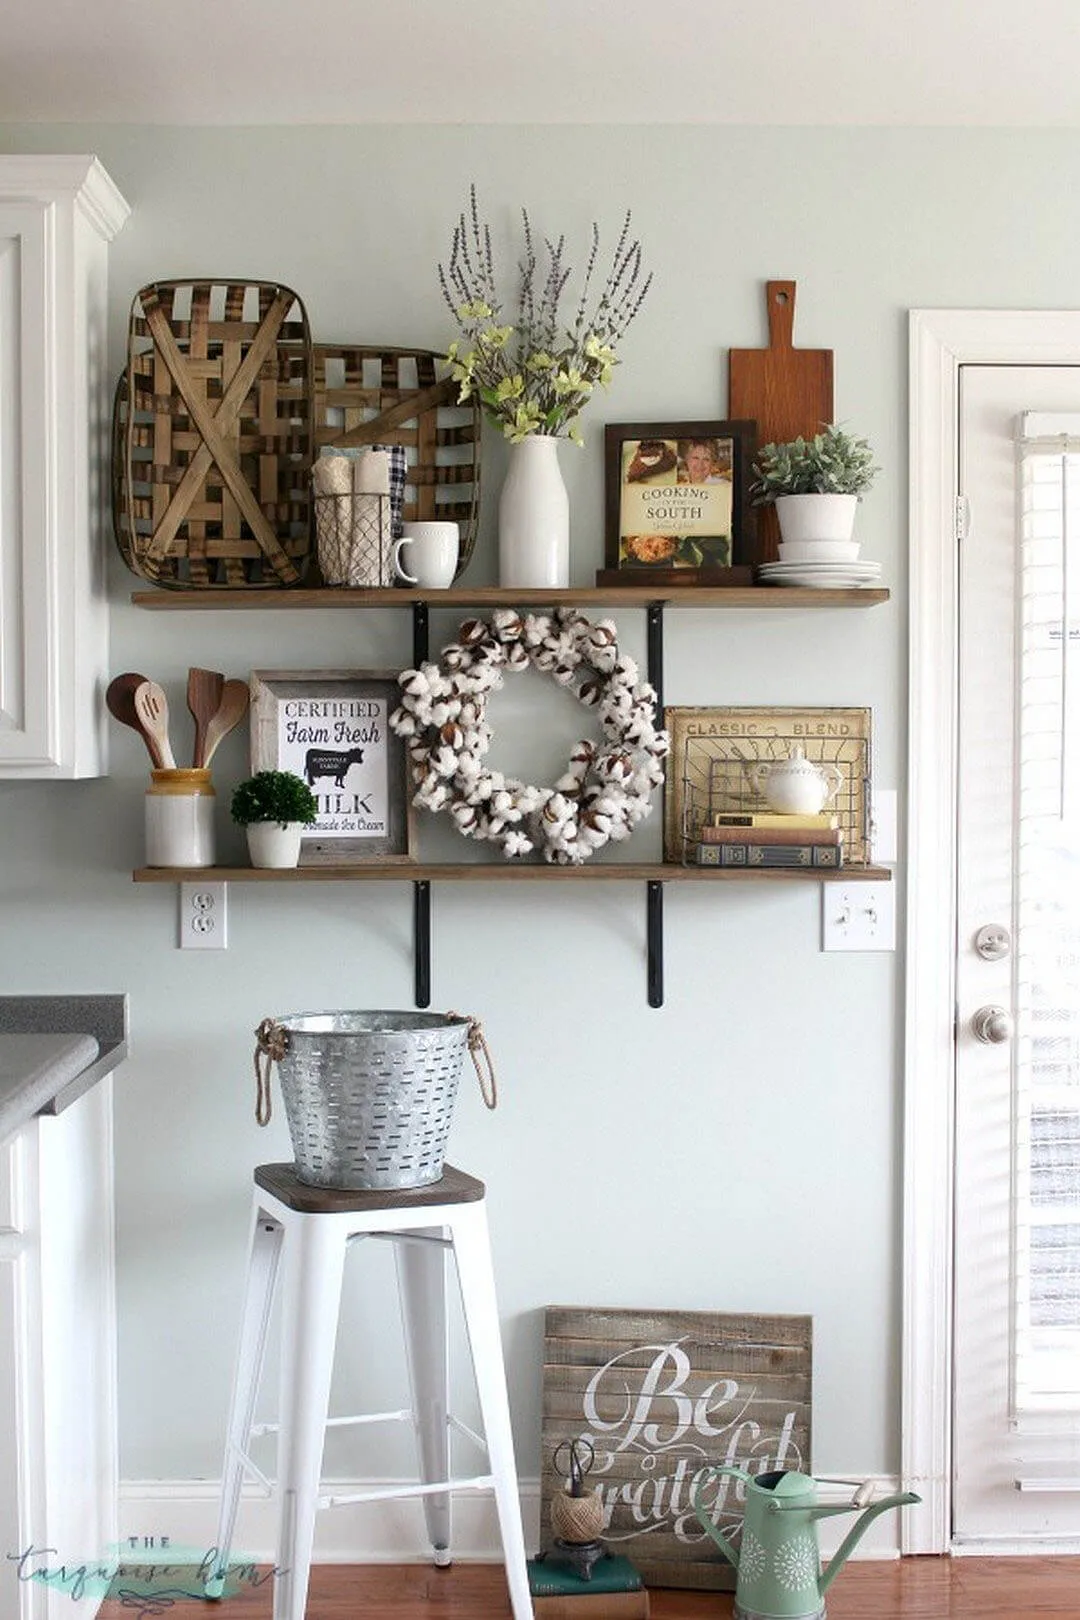
A DIY herb garden is a delightful and practical addition to any kitchen. Fresh herbs not only enhance the flavor of your cooking but also add a touch of greenery and freshness to your space. Whether you have a spacious kitchen or a small apartment, you can easily create an herb garden that suits your needs. This project is perfect for both experienced gardeners and beginners. It’s a rewarding way to bring the outdoors in and enjoy the benefits of fresh herbs all year round. With a little creativity, you can create a visually appealing and functional herb garden that brightens up your kitchen.
Choosing the Right Herbs
When designing your herb garden, choose herbs that you enjoy using in your cooking. Popular choices include basil, mint, parsley, chives, rosemary, and thyme. Consider the growing requirements of each herb, such as sunlight and water needs, to ensure they thrive in your kitchen environment. Some herbs prefer full sun, while others do well in partial shade. Research the best soil and pot sizes for each herb. Grouping herbs with similar needs can make maintenance easier. Consider also the aesthetics – choose herbs with different leaf textures, colors, and scents to create a visually appealing and aromatic garden.
Building a Container Herb Garden
You can create a container herb garden using various containers, from simple pots to repurposed items like old jars or tin cans. Choose containers with drainage holes to prevent overwatering. Use a high-quality potting mix designed for herbs. Arrange your containers on a windowsill, countertop, or shelf that receives adequate sunlight. Water your herbs regularly, keeping the soil moist but not waterlogged. To maintain your garden, prune your herbs regularly to encourage growth. By creating a well-designed and maintained herb garden, you can enjoy fresh, flavorful herbs right at your fingertips, enhancing your cooking and your kitchen decor.
Project 6 Making a Decorative Kitchen Sign
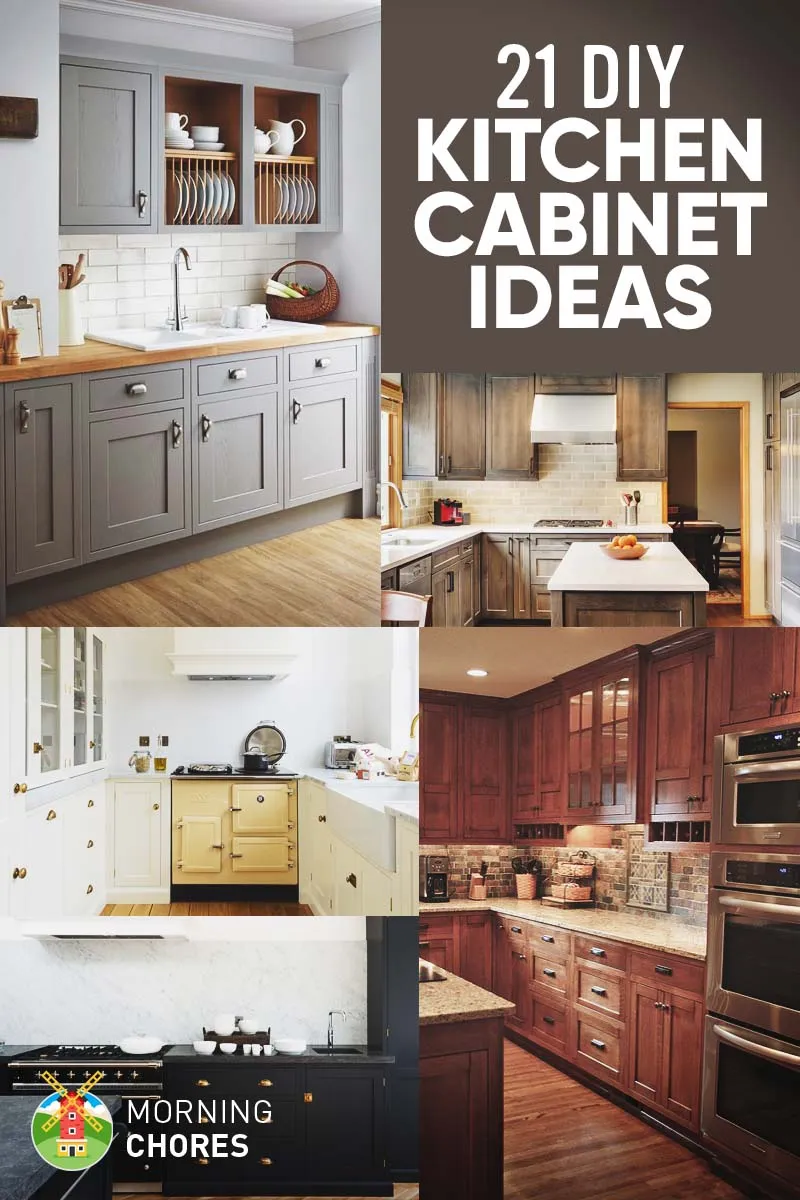
Adding a decorative kitchen sign is a simple yet effective way to personalize your space and inject some charm. Whether you create a sign with a funny quote, a favorite recipe, or a simple design, it adds a focal point and reflects your personality. This project is perfect for those who enjoy crafting and are looking for a quick and easy way to add a personal touch to their kitchen decor. With a variety of materials and techniques to choose from, you can create a unique sign that complements your kitchen’s style and adds to its overall appeal.
Choosing the Right Materials
Select the materials that best suit your style and budget. Wood is a popular choice for kitchen signs, offering a rustic and timeless look. You can use reclaimed wood, pallet boards, or a simple wooden plaque. Metal signs can add a touch of modern or industrial flair. Consider using stencils, vinyl lettering, or freehand painting techniques. Paint, stain, or decoupage materials can be used to add color, texture, and visual interest. The materials you choose will determine the final look and feel of your sign. Choose materials that align with your existing kitchen decor and the message you want to convey.
Creating a Stencil or Freehand Design
Creating a design for your kitchen sign is a fun and creative process. Use stencils or vinyl lettering for clean, precise designs. You can find stencils at craft stores or create your own. For a more personalized touch, try freehand painting. Sketch your design on paper before transferring it to your sign. Use a pencil to lightly outline your design and then paint over it with acrylic paint, chalk paint, or any other paint that you like. Once your design is complete, let the paint dry completely. Then, add a protective finish, such as a clear sealant or varnish, to protect your sign and extend its lifespan. This process allows you to create a unique and eye-catching piece of kitchen decor.
Project 7 Upcycling Kitchen Utensils
Upcycling old kitchen utensils is a creative way to repurpose items that might otherwise be discarded, adding a unique touch of personality to your kitchen. This sustainable approach not only reduces waste but also allows you to add a vintage, rustic, or eclectic charm to your decor. Whether you’re a fan of the farmhouse aesthetic or prefer a modern, minimalist style, there are endless possibilities for transforming old utensils into decorative elements. This project is a great way to add character to your kitchen while being environmentally conscious.
Transforming Old Utensils
The transformation process can be as simple or complex as you desire. You can start by cleaning and preparing the utensils. Consider painting them with chalk paint or acrylic paint for a fresh, updated look. Adding embellishments like beads, twine, or stencils can elevate the look. Old whisks can be turned into charming decorative items, and vintage spoons can be transformed into wall hooks. Think about the functionality of the utensils and how you can repurpose them to suit your style. Remember to ensure that any modifications are food-safe if the utensils will still come into contact with food. The possibilities are endless, so let your creativity guide you.
Displaying Upcycled Utensils
Displaying your upcycled utensils is as important as the transformation process itself. You can hang them on the wall using hooks or create a utensil holder to display on your countertop. Old colanders can be turned into unique light fixtures, or you can display a collection of vintage spoons and forks in a mason jar. Consider the overall aesthetic of your kitchen when deciding how to display your creations. Grouping them together can create a cohesive look. Arrange them in a way that complements your kitchen’s style and adds to the visual appeal of your space. Effective display adds the perfect finishing touch to your DIY kitchen decor project.
Conclusion
Transforming your kitchen doesn’t have to be an expensive or overwhelming undertaking. By embracing these seven easy DIY kitchen decor projects, you can create a space that reflects your personal style, enhances your functionality, and stays within your budget. Whether you’re revamping your cabinets, creating a decorative backsplash, or designing a charming herb garden, each project offers a unique opportunity to add personality and character to your kitchen. Remember to have fun, be creative, and embrace the joy of DIY. With a little effort and these ideas, you can transform your kitchen into a space you’ll be proud to call your own.
