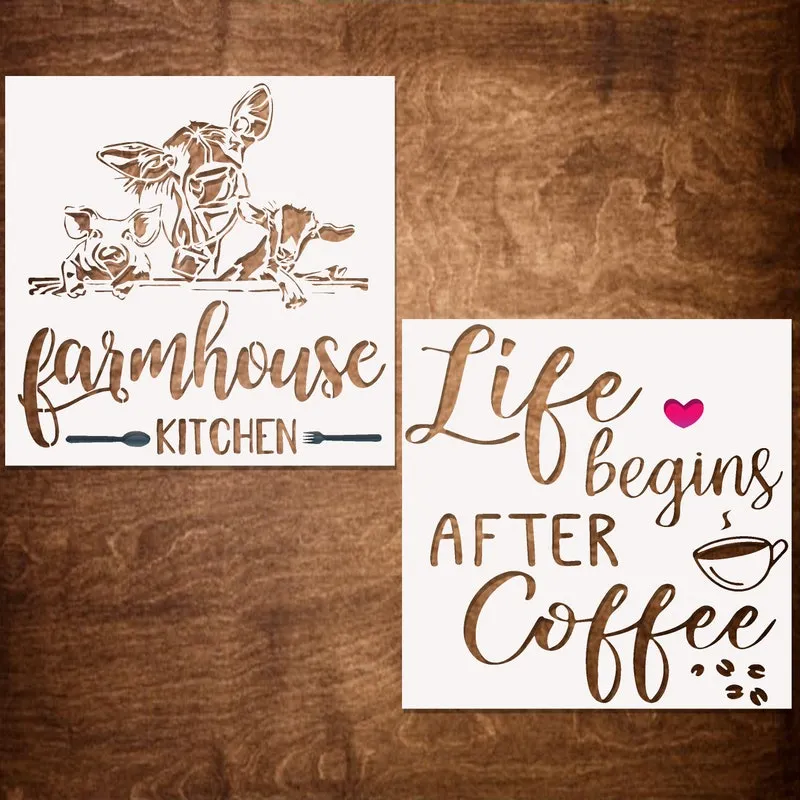
Kitchen decor stencils offer a fantastic way to personalize your kitchen space and add a touch of creativity without undertaking a complete renovation. They provide an affordable and fun DIY option to transform walls, backsplashes, cabinetry, and more. Whether you are a seasoned DIY enthusiast or a beginner, kitchen decor stencils open up a world of possibilities for creating a stylish and unique kitchen. This guide explores how to choose the right stencils, gather the necessary supplies, and master the techniques to elevate your kitchen decor effortlessly.
Choosing the Right Kitchen Decor Stencils
The first step in any successful stenciling project is selecting the right stencils. The choices available are vast, so it’s important to consider a few factors to ensure a perfect outcome. Start by thinking about the overall style of your kitchen and the aesthetic you want to achieve. Do you prefer modern, rustic, farmhouse, or something else? The stencil design should complement the existing decor and enhance the overall ambiance of the room. Consider the colors you are using, the size of your space, and the type of project you are undertaking. Selecting stencils that align with your vision sets the stage for a beautiful and cohesive look.
Types of Stencils for Kitchen Decor
Kitchen decor stencils come in a variety of types, each suitable for different surfaces and projects. Wall stencils are the most common and can be used to create patterns on walls, adding visual interest and texture. Backsplash stencils are designed specifically for tiles or flat surfaces, allowing you to add decorative designs to your backsplash without replacing the entire surface. Cabinetry stencils help you update your kitchen cabinets with new designs. Furniture stencils allow for adding patterns to furniture, while all-over patterns are perfect for creating a consistent look across a larger surface. Each type offers unique possibilities for transforming your kitchen.
Material Options
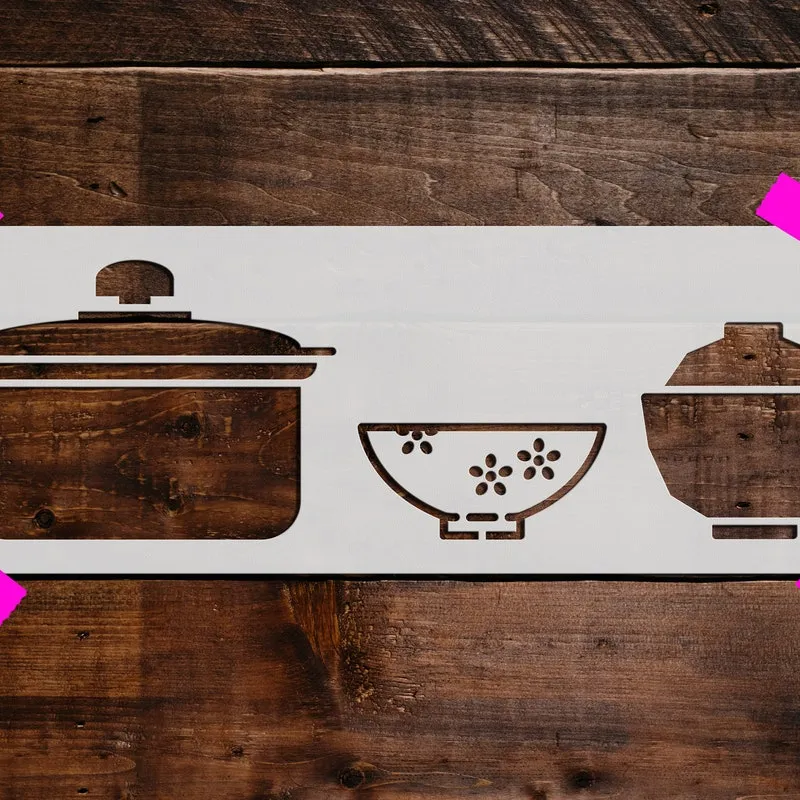
Stencils are typically made from durable materials such as mylar or acetate. Mylar stencils are flexible, reusable, and easy to clean, making them a popular choice for DIY projects. Acetate stencils are known for their durability and resistance to tearing, which makes them ideal for detailed designs. Consider the material when choosing, depending on the project, as the material might affect the details or ease of use. The material will influence the life of your stencil and the ease of cleaning.
Size and Design Considerations
The size and design of the stencil should align with your project’s scale. Smaller stencils are well-suited for detailed patterns, while larger stencils are better for covering expansive areas quickly. Choose designs that are relevant to your overall theme. Consider the color palette, as it plays a crucial role in how the stencil design will appear. Experiment with different colors and patterns before committing to the final look, or use the stencil in a monochrome color for a simpler look. Also, ensure the stencil design complements the kitchen’s existing elements, such as countertops, cabinets, and appliances.
Essential Supplies for Stenciling
Before you begin, gather the necessary supplies. Having everything at hand ensures a smooth and enjoyable stenciling experience. Here’s a list of essential supplies to have ready before you begin your kitchen decor project.
Stencils
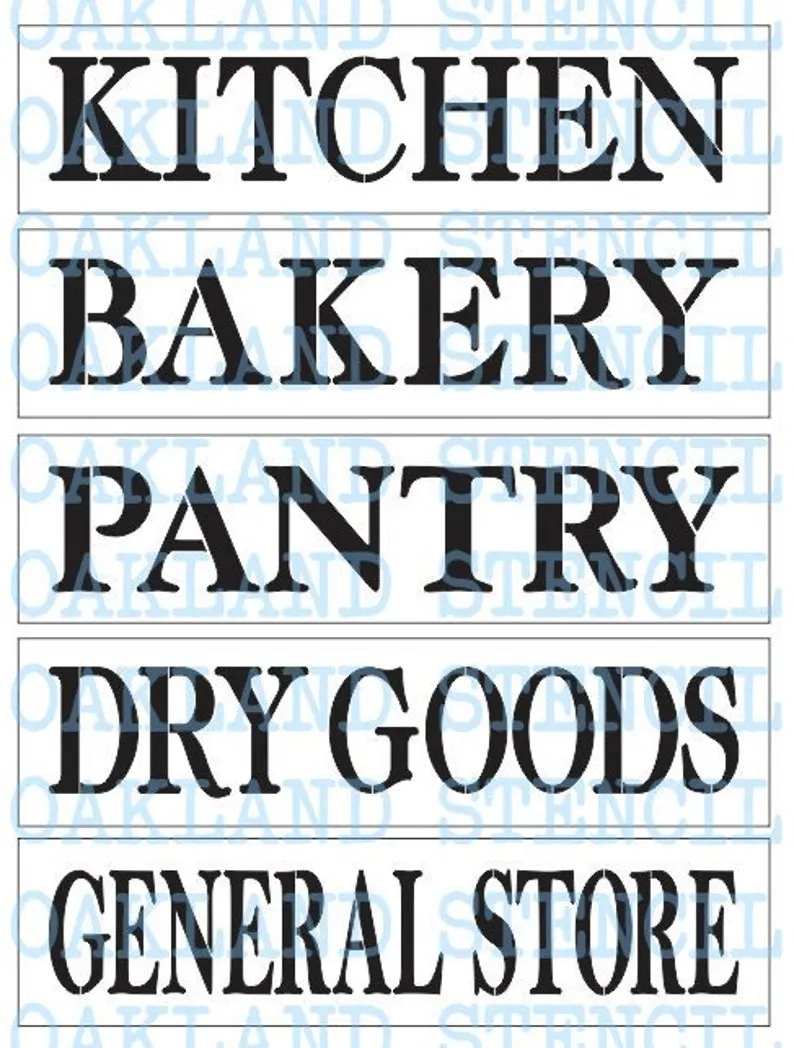
Of course, you’ll need the kitchen decor stencils you chose. Make sure to select designs and sizes that are suitable for your project. Depending on your project, it is a good idea to select a variety of stencils to create a comprehensive design. Also, make sure your stencils are clean before use.
Paint
Choose paint that is appropriate for the surface you are stenciling. For walls, acrylic or latex paints are commonly used. For cabinets, consider using a durable enamel paint that can withstand regular cleaning. Make sure the paint color complements your kitchen’s existing color scheme. Test the colors in an inconspicuous area before you start stenciling to ensure you like the look.
Brushes and Rollers
When it comes to stenciling, the right tools make a huge difference. Use stencil brushes or small foam rollers. Stencil brushes are designed with flat tips to apply paint evenly without causing bleeding under the stencil. Foam rollers provide a smooth and consistent finish, especially for larger areas. Have brushes and rollers in various sizes to accommodate different stencil designs. Choose good-quality brushes and rollers to avoid shedding and achieve a professional look. Clean the brushes and rollers well after each use.
Other Tools
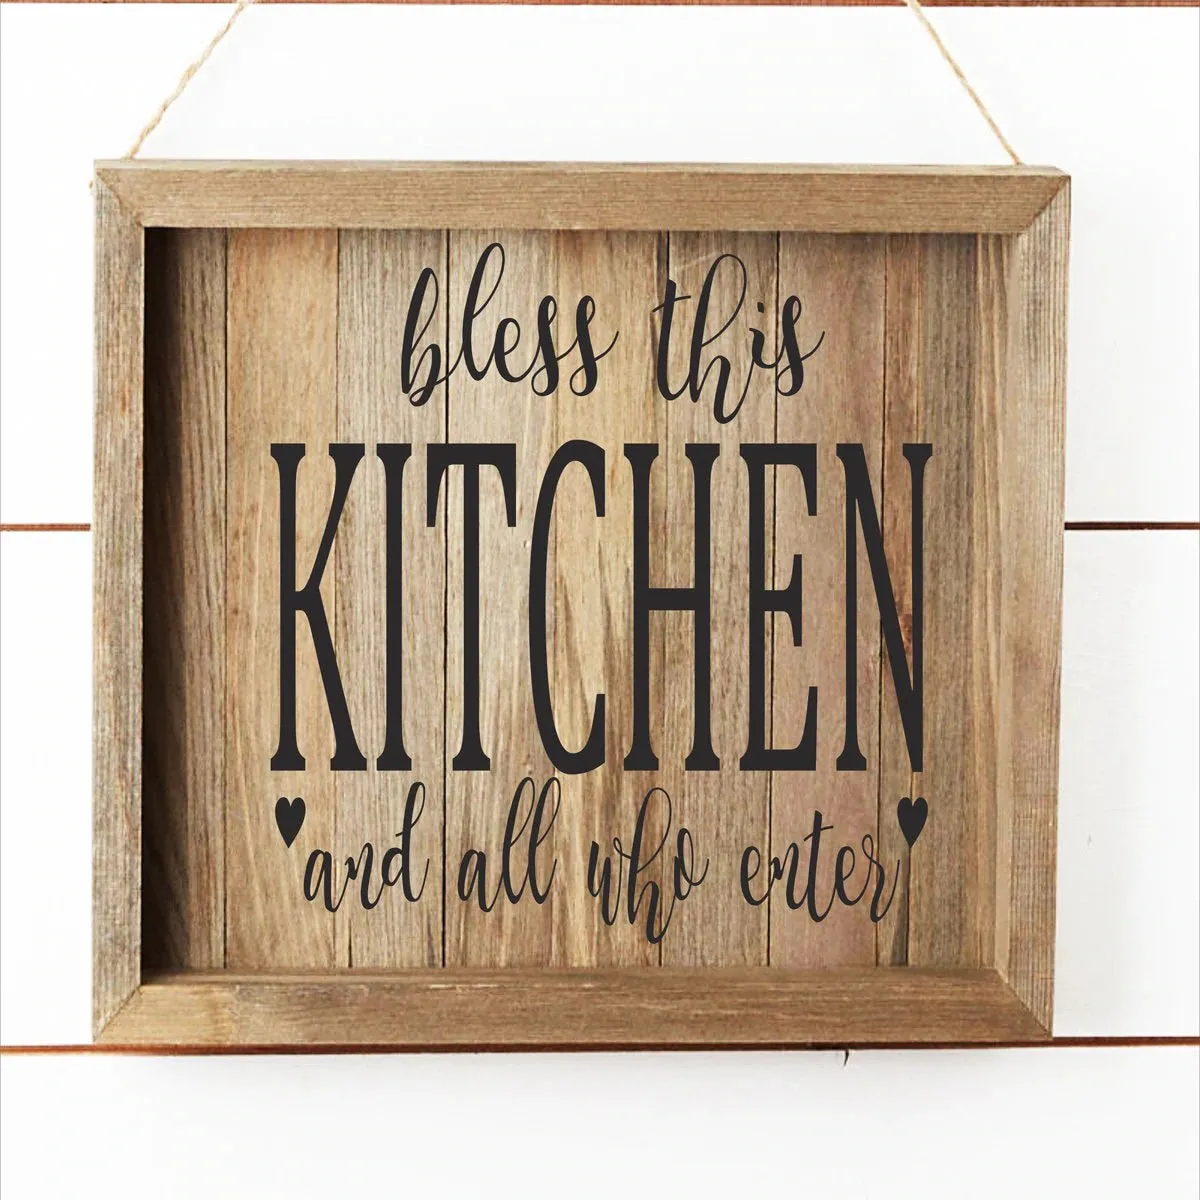
Other essential tools include painter’s tape to secure the stencil and protect surrounding areas. A level will help you align the stencil. A stencil adhesive spray can also be used to prevent the stencil from moving during application. A paper towel or a rag can be used to remove excess paint from the brush or roller. Also, a small palette or plate for pouring paint, and a pencil to mark alignment. These supplies will enhance your stenciling experience and results.
Step-by-Step Stenciling Guide
Follow these simple steps to achieve professional-looking results with your kitchen decor stencils. Careful preparation is key to ensuring a smooth, beautiful finish. Take your time during this process to avoid mistakes. Consider doing a test run on cardboard before painting on your desired surface.
Preparing Your Surface
Before stenciling, prepare the surface thoroughly. Clean the area to remove any dust, dirt, or grease. If the surface is painted, ensure the paint is dry and in good condition. If necessary, lightly sand the surface to create a smooth texture for the stencil to adhere to. Use painter’s tape to protect any areas you don’t want to stencil. This will ensure clean lines and avoid accidental paint marks.
Applying the Stencil

Position the stencil on the surface and secure it with painter’s tape. For intricate designs, using a stencil adhesive spray can help prevent movement and ensure sharp lines. If you’re stenciling a pattern, begin in a corner or along a straight edge to ensure proper alignment. Use a level to ensure the stencil is straight. Apply a small amount of paint to the brush or roller, and dab or roll off any excess paint onto a paper towel. This prevents paint from bleeding under the stencil.
Painting Techniques
Use a dabbing motion with a stencil brush or a rolling motion with a foam roller. Apply the paint evenly and with light pressure. Avoid overloading the brush or roller with paint, as this can cause the paint to bleed under the stencil. Apply multiple thin coats of paint instead of one thick coat. Allow each coat to dry before applying the next. Once the paint is dry, carefully remove the stencil and let the design dry completely.
Adding Finishing Touches
Once the paint is dry, inspect your work and touch up any areas as needed. If you are stenciling on walls or surfaces that will be exposed to moisture or wear, consider applying a sealant or topcoat. This will protect the design and enhance its longevity. Carefully remove the painter’s tape, and clean up any paint splatters. Step back and admire your newly stenciled kitchen decor.
Creative Kitchen Decor Stencil Ideas

Kitchen decor stencils offer endless possibilities for creativity. Here are some inspiring ideas to help you transform your kitchen.
Stenciling Backsplashes
Transform your backsplash with decorative patterns. Use tile stencils to create the illusion of patterned tiles, or use a geometric stencil to add a modern touch. Choose colors that complement your existing countertops and cabinets. This is a cost-effective way to update your kitchen without a full remodel. Stencil a unique design that will make your kitchen stand out.
Decorating Kitchen Walls
Add visual interest to your kitchen walls by using all-over patterns or creating a focal point with a large stencil design. Use stencils to add quotes, phrases, or images that reflect your style. Experiment with different color combinations to create the perfect look. This can really change the feel of your kitchen. Consider stenciling a feature wall for a bolder statement.
Customizing Cabinetry
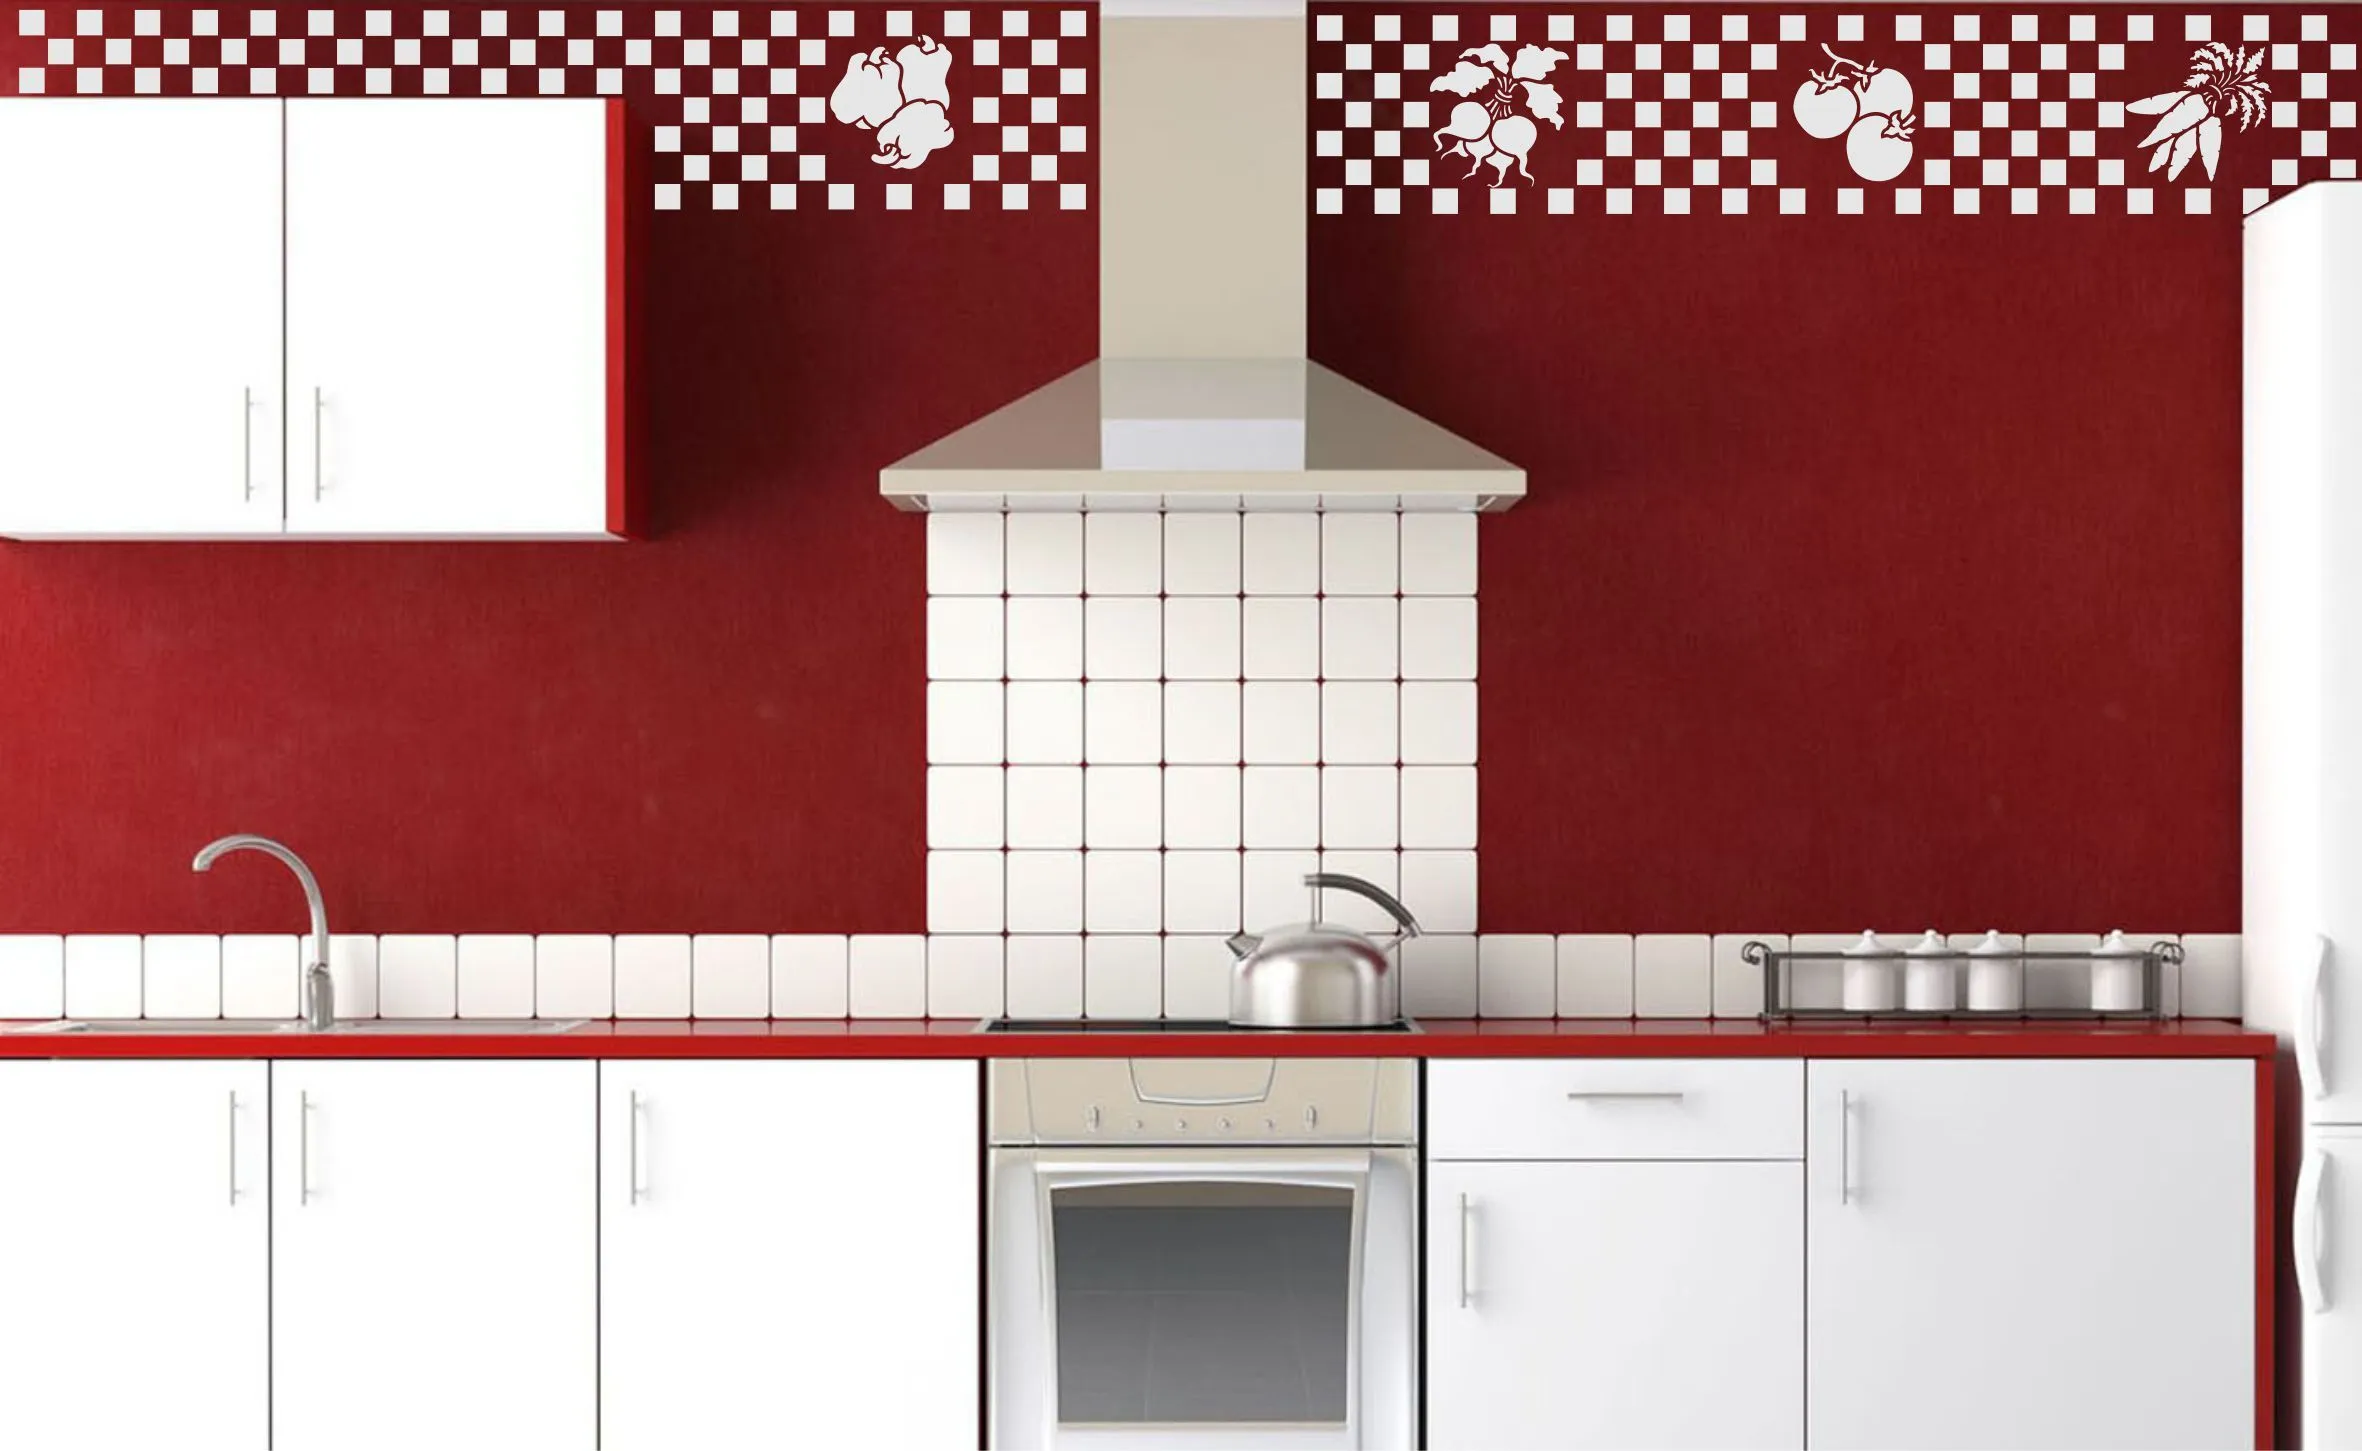
Give your kitchen cabinets a fresh look with stencils. Use stencils to add decorative patterns, geometric designs, or even faux wood grain. Before stenciling, make sure the cabinets are clean and properly prepared. This DIY project can transform old cabinets into showpieces, giving your kitchen a complete makeover. Choose colors that complement your countertops, backsplash, and walls. Cabinet stenciling offers a unique and personalized touch.
Maintaining and Cleaning Stenciled Surfaces
Proper maintenance ensures your stenciled designs remain beautiful for years. Regular cleaning is essential to keep your kitchen decor looking its best. Take the time to clean both your stencils and your newly stenciled surfaces to preserve the look and extend the life of your kitchen improvements.
Cleaning Your Stencils
After each use, clean your stencils immediately to prevent paint from drying and clogging the designs. Rinse the stencils under warm water, using mild soap. Use a soft brush or sponge to gently remove any paint residue. Lay the stencils flat to dry completely before storing. Properly cleaning your stencils will allow you to use them multiple times.
Caring for Painted Surfaces
Clean stenciled surfaces regularly with a damp cloth and mild detergent. Avoid using abrasive cleaners, as they can damage the paint. For walls, gently wipe the stenciled areas to remove any dirt or grease. For cabinets, use a soft cloth to wipe down the surfaces. If you have applied a sealant, it helps protect the design from moisture and wear. By following these simple cleaning tips, your kitchen decor will remain vibrant and beautiful.
Kitchen decor stencils provide an exciting and affordable way to transform your kitchen space. With the right stencils, supplies, and techniques, you can easily create a stylish and personalized kitchen decor. From choosing the right stencils to mastering the stenciling process, this guide provides comprehensive information to help you achieve stunning results. So, gather your supplies, unleash your creativity, and start elevating your kitchen decor today!
